
Follow this free Willow Granny Square pattern for a beautiful and timeless touch to your crochet projects, perfect for enthusiasts of all skill levels.
This engaging pattern takes you through a journey of creating intricate squares that can be assembled into blankets, cushions, or even stylish bags. Featuring an elegant mix of stitches, the pattern ensures each square stands out with its unique charm. The step-by-step instructions are easy to follow, making it suitable for both beginners and seasoned crocheters.
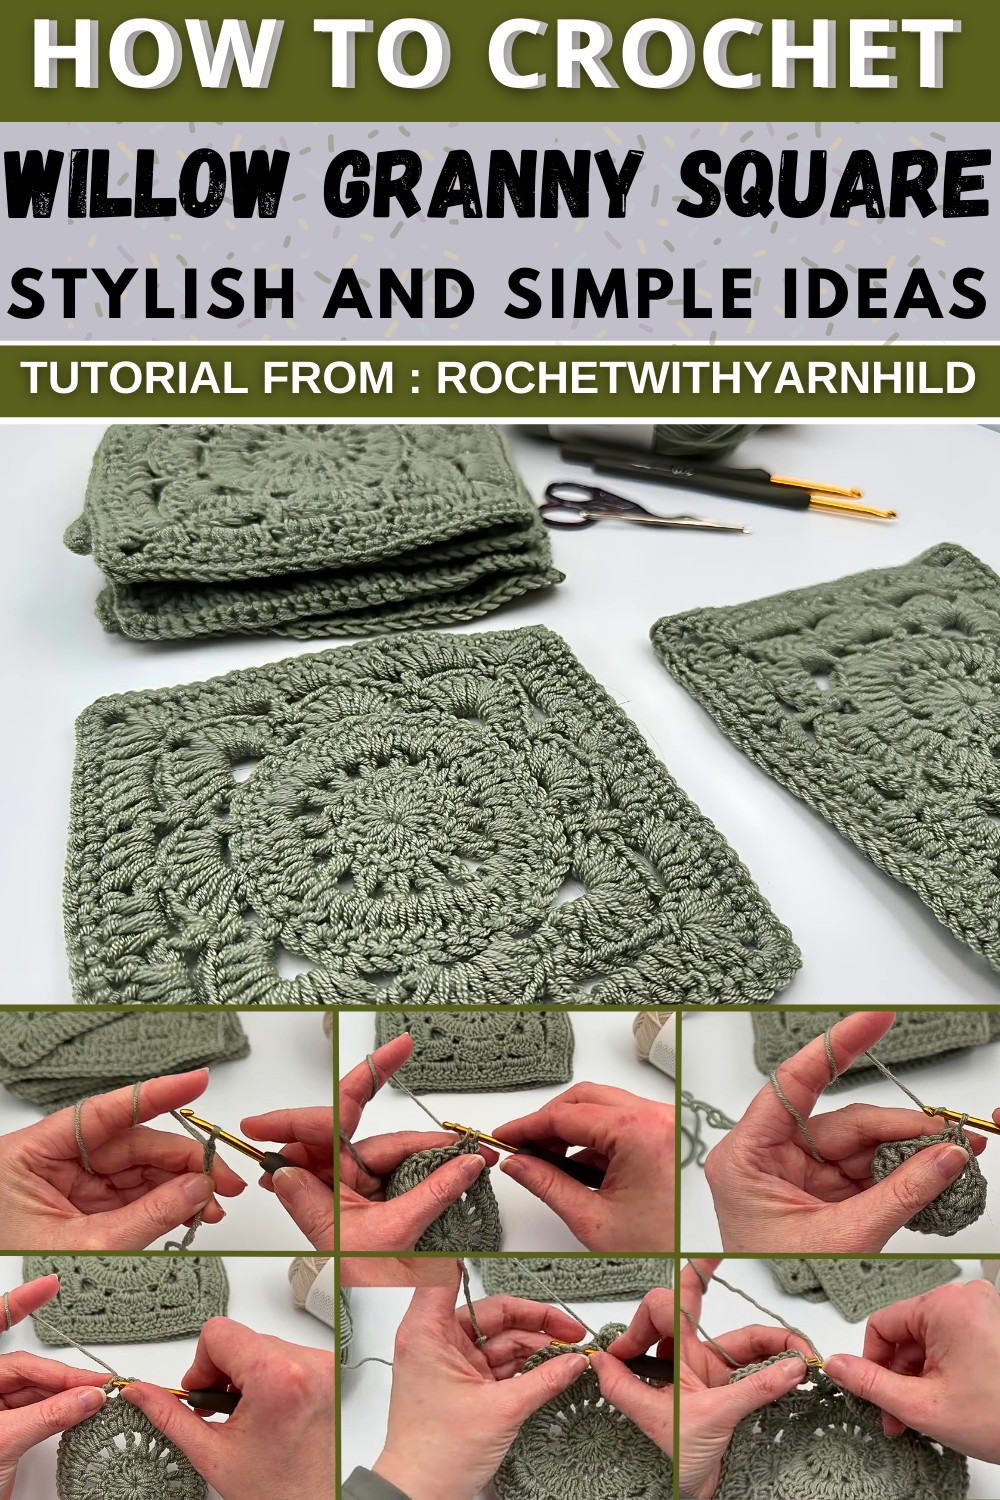
How to crochet the beautiful Willow Granny Square
Using high-quality cotton yarn, recommended for its durability and comfort, you'll enjoy a smooth crocheting experience. Each square starts with a center motif and expands outward, ensuring a rich texture and visual appeal. With this versatile pattern, your creativity can truly shine.
Tip:
For a more vibrant look, experiment with different color combinations to make each square truly pop!
How to Crochet the Willow Granny Square Pattern: Step-by-Step Guide
Introduction
Welcome to Crochet with Yarnhild! In this tutorial, we'll be learning how to crochet the beautiful Willow Granny Square. It's a stunning pattern that's surprisingly easy to manage, even if it seems complex at first glance. This versatile square can be used to create a variety of projects, from blankets to cardigans to scarves.
Materials Needed:
- Yarn: Sonas Garn Minino Wool (or any fine, soft yarn)
- Crochet Hook: 4mm (start with 3.5mm if preferred)
- Tapestry Needle


Step-by-Step Instructions
Step 1: Creating the Magic Ring
- Starting Point:
- If you don't know how to make a magic ring, start with a slip knot and chain four.
- Slip stitch into the first stitch to form a ring.
- Magic Ring Method:
- Wrap the yarn around your index finger and thumb.
- Insert the hook, grab the loop, and pull it up.
- Chain one to secure the ring.
- Chain Three:
- This counts as your first double crochet.
- Double Crochets:
- Make 15 more double crochets into the ring (total of 16).
- Pull the ring closed.
- Slip stitch into the top of the initial chain three.
Step 2: Chain Spaces
- Chain Four:
- Turn your work to make it look good on both sides.
- Double Crochet:
- Make one double crochet in the next stitch.
- Chain one and repeat this step around (16 double crochets in total).
Step 3: Cluster Rounds
- Chain Three:
- This counts as the first double crochet.
- Make two double crochets in the next chain space.
- Repeat:
- One double crochet in the next double crochet.
- Two double crochets in the next chain space.
Step 4: Corners and Shells
- Chain Six:
- Skip two stitches.
- Single crochet in the next stitch, chain three.
- Four Chains:
- Single crochet in the next stitch.
- Chain five for the next corner (repeat all the way around).
Step 5: Expanding the Square
- Double Crochets and Corners:
- Chain three and turn.
- In the chain-four spaces, make five double crochets.
- Chain two for the corner.
- Repeat this pattern, with three double crochets in the chain-three spaces.
Step 6: Final Touches
- Single Crochet:
- One single crochet in each stitch along the edges.
- In the corners, make two single crochets, chain one, and two more single crochets.
- Finishing:
- Weave in the ends using the tapestry needle for a clean finish.
- Block your work by wetting and pinning it to a board (or towel) to shape it nicely.
Conclusion
Congratulations, you have completed the Willow Granny Square! This pattern is not only beautiful but also versatile, allowing you to create a wide variety of projects. Remember to block your finished squares for the best results. If you enjoyed this tutorial, don’t forget to subscribe to the channel and check out other patterns on my blog.


