
Pamper your kitty with the delightful Crochet Cat Bed Pattern! a cozy and charming project for crochet enthusiasts!
This exceptional project offers a chance to crochet a plush and inviting sanctuary for your feline friend, effortlessly combining style and comfort. Designed with simplicity in mind, the pattern utilizes basic crochet stitches, making it accessible for all skill levels. Customize the bed with your cat's favorite colors, ensuring it seamlessly complements your home's aesthetic. The end result is a cozy nest that provides warmth while supporting your cat's penchant for curling up in small spaces.
Crochet Cat Bed Tutorial Fast Fun An Very Easy

As you crochet, you'll find joy in the rhythmic process and the satisfaction of creating a functional yet charming piece. Plus, with its sturdy construction, this cat bed promises durability, standing up to even the most enthusiastic kneading paws.
Tip:
Consider adding a removable pillow inside the bed for easy cleaning and additional comfort.
Materials Needed
- Two skeins of red yarn (Red Heart and Mainstay brands).
- Small ball of pink yarn.
- Additional scrap yarn.
- Large crochet hook (size 9 recommended).
- Stitch marker.


Introduction
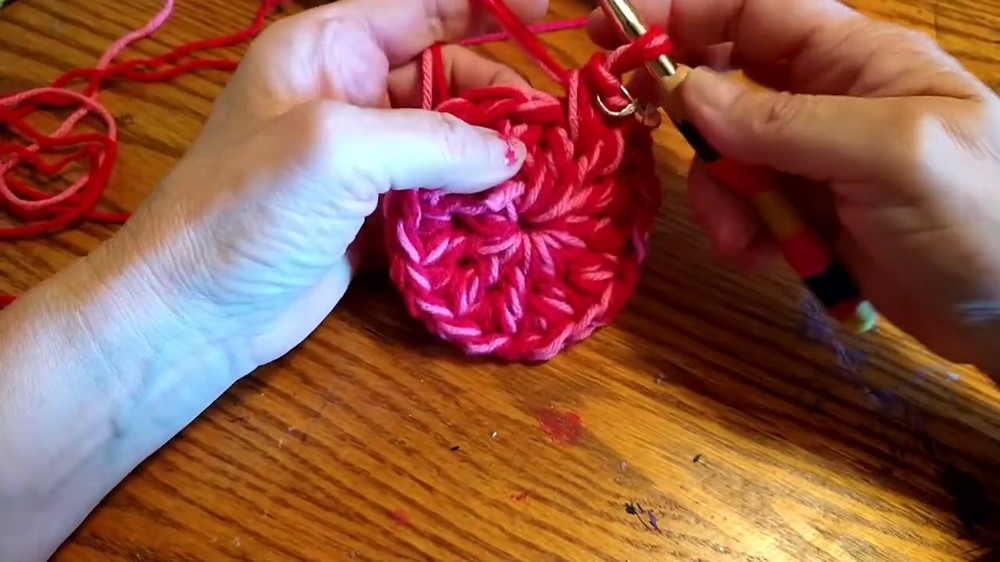
Emily introduces the project and mentions that she will be using three strands of yarn simultaneously to make the cat bed thick and sturdy.
Step-by-Step Instructions
1. Creating the Slip Knot
- Combine two strands of red yarn and one strand of pink yarn.
- Make a slip knot to start.
2. Forming the Base
- Chain four stitches.
- Slip stitch into the first chain to form a circle.
- Chain two (counts as a double crochet).
- Crochet a total of 10 double crochets into the circle.
3. Building the Foundation (No Slip Stitch)
- Use a stitch marker to mark your rounds (use an earring if you don’t have a stitch marker).
- Begin single crocheting in continuous rounds.
4. First Increase Round
- Perform two single crochets in each stitch around the circle.
- Move the stitch marker to mark the end of your round.
5. Second Increase Round
- In this round, single crochet in the first stitch, and then do two single crochets in the next stitch.
- Repeat this pattern (one single crochet, two single crochets) all the way around.
6. Subsequent Increase Rounds
- Continue increasing by doing one more single crochet in between the two single crochets of the previous round.
- Round 3: Single crochet in the first two stitches, then two single crochets in the third stitch.
- Round 4: Single crochet in the first three stitches, then two single crochets in the fourth stitch.
Repeat this pattern until you achieve the desired diameter for the base. Emily goes up to 12 single crochets in between increases.
7. Forming the Walls of the Bed
- Crochet one round of half double crochets to start curving the sides up.
- Continue with single crochets until the walls reach the desired height.
8. Finishing Touches
- Flatten the bottom if there is any slight curl.
- Fold the edge over to reinforce the walls and give the bed a finished look.
Testing the Bed and Extra Notes
- Emily places Gracie, her cat, in the bed to test it, and Gracie approves!
- She mentions that this bed won't remain on the table but will be placed in a comfortable spot for the cats.
Conclusion
This cat bed is a quick and gratifying project that can be completed using scrap yarn, making it a cost-effective and creative way to pamper your pets. It's also versatile enough to be adapted into other items like coasters, baskets, or even purses. Your cats will love the cozy new addition to their sleeping spots!


